A few days ago, Ali Edwards invited any readers of her 52 Creative Lifts newsletter to do something with a journaling prompt about "right now". Here's my digital take, made at 6"x4" so it'll easily fit into my Project Life album. This is what I was doing/thinking on Thursday:
I have an entry in one of my Evernote notebooks with some of these blank journaling prompts, and once in a while I'll fill them out. It's interesting to look back at them over time!
~ Caroline ~
Sunday, September 30, 2012
Sunday, September 23, 2012
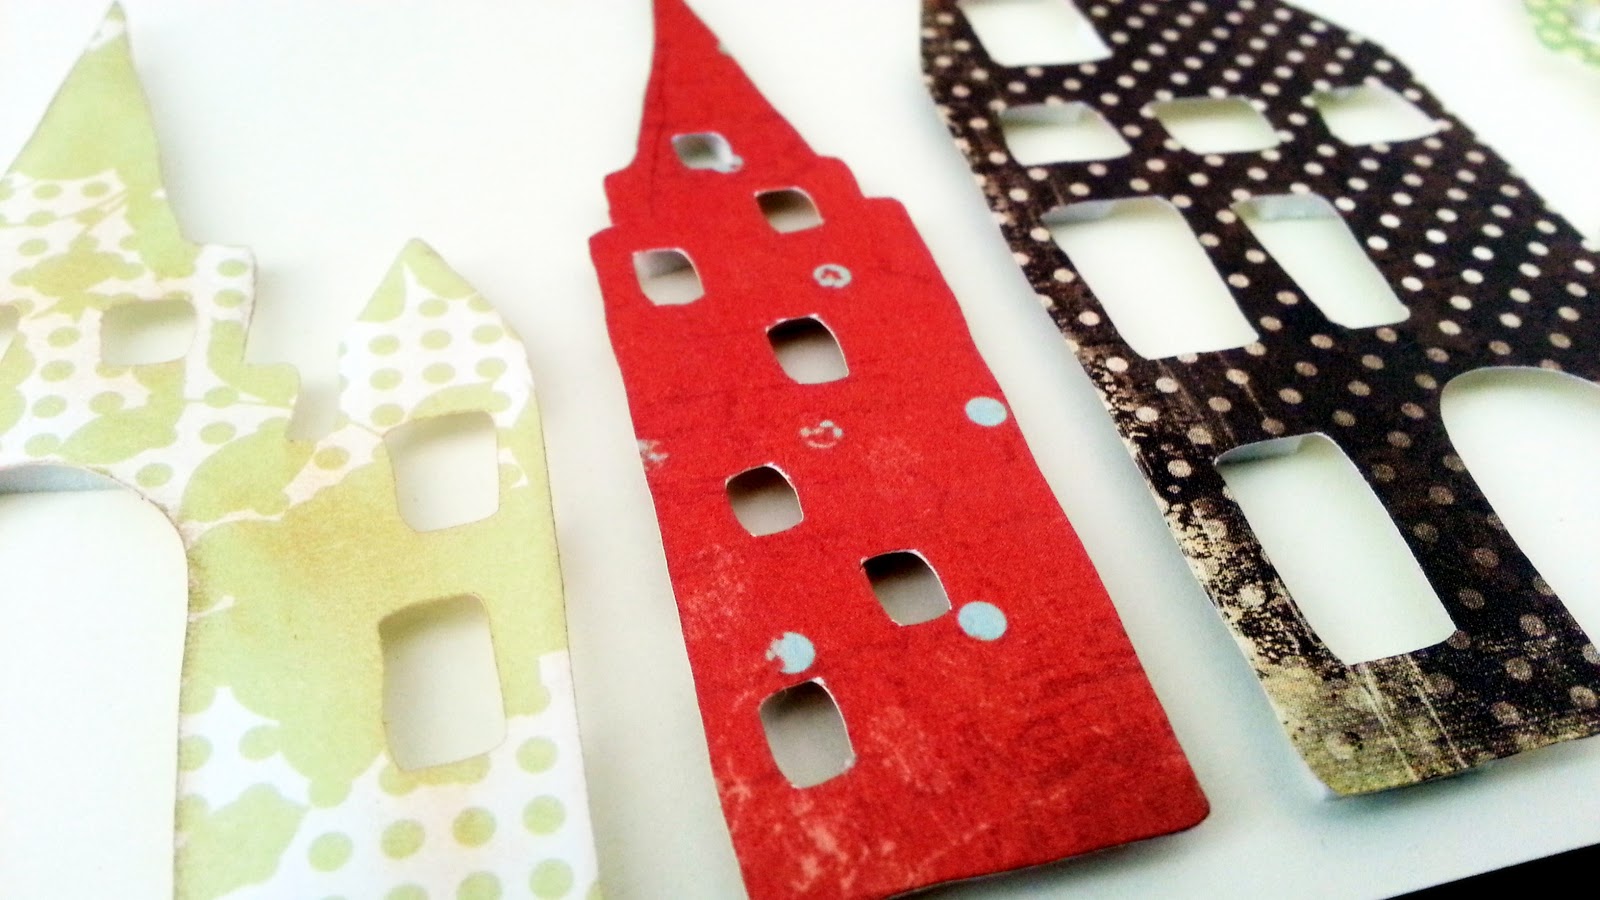
Cityscape with Hit the Road design card
I have loved the Hit the Road design card ever since I got my hands on it. I particularly like the look of all the whimsical buildings with their cutout windows.
For this cityscape, I grabbed a few scraps, all with polka dots, and cut out a variety of the buildings (only one shape is repeated, using the mirror function - can you spot it?) I used 4" cuts each time.
On the lighter coloured pieces I added a little bit of brown blending chalk just to tone down the brightness and add some definition to the edges. A pale ink such as Tim Holtz's Antique Linen Distress Ink would also work well for this.
Then I used some thick pop dots to adhere all the buildings to a piece of card. I may back it further or put it in a shadow box on the wall.
This would be an easy project to repeat on a smaller scale (maybe with 2" cuts) for a card to congratulate somebody on moving house, or as a change of address card.
~ Caroline ~
On the lighter coloured pieces I added a little bit of brown blending chalk just to tone down the brightness and add some definition to the edges. A pale ink such as Tim Holtz's Antique Linen Distress Ink would also work well for this.
Then I used some thick pop dots to adhere all the buildings to a piece of card. I may back it further or put it in a shadow box on the wall.
This would be an easy project to repeat on a smaller scale (maybe with 2" cuts) for a card to congratulate somebody on moving house, or as a change of address card.
~ Caroline ~
Thursday, September 6, 2012
Saying Thank You
There's been a lot going on lately which has meant my poor blog has been neglected. Several hospital stays for the hubby, and lots of stress at work. Last week my coworkers were especially wonderful in the midst of it all and we pulled together in some amazing displays of teamwork. I made some banana bread as a thank-you to them:
I've also become a Silhouette Cameo owner, so my Slice has become the jealous party in my scrap room! However, it's definitely not been forgotten, so expect some more Slice-related posts soon.
~ Caroline ~
I've also become a Silhouette Cameo owner, so my Slice has become the jealous party in my scrap room! However, it's definitely not been forgotten, so expect some more Slice-related posts soon.
~ Caroline ~
Saturday, July 7, 2012
Graduation cards with the Slice
I meant to post this before, but better late than never! :) Here are a couple of graduation cards I made recently. I wanted a very simple design and the Slice made it easy! I used the Greetings design card to cut out the black cap.
Here's the one for a guy:
And here's the one for a girl, with pink and bling. :)
~ Caroline ~
Here's the one for a guy:
And here's the one for a girl, with pink and bling. :)
~ Caroline ~
Saturday, June 23, 2012
75th birthday card
My Dad turned 75 this week and I made him this card.
The background paper is from an old DCWV paper stack. I cut the 75 from kraft cardstock using my Slice and the Basics 3 design card, then sprayed them with Perfect Pearls mists.
I had a lot of fun designing the inside. I'd seen a similar idea for the inside on Pinterest and thought I'd give it a try!
I cut the banners from the Dilly Dally design card. The "happy" and "birthday" both came from the Words and Expressions card. I just cut up the "happy" and adhered the letters to the banner. I attached the hemp cord with polka dot washi tape. I know cards for guys typically don't need bling, but I did add just a tiny dot of bling for the "i" of birthday.
I heard that the card safely made it to England intact, and in time for the special day! :)
~ Caroline ~
The background paper is from an old DCWV paper stack. I cut the 75 from kraft cardstock using my Slice and the Basics 3 design card, then sprayed them with Perfect Pearls mists.
I had a lot of fun designing the inside. I'd seen a similar idea for the inside on Pinterest and thought I'd give it a try!
I cut the banners from the Dilly Dally design card. The "happy" and "birthday" both came from the Words and Expressions card. I just cut up the "happy" and adhered the letters to the banner. I attached the hemp cord with polka dot washi tape. I know cards for guys typically don't need bling, but I did add just a tiny dot of bling for the "i" of birthday.
I heard that the card safely made it to England intact, and in time for the special day! :)
~ Caroline ~
Friday, June 15, 2012
Craft room wall of pretties
In our new house I am delighted to have a craft room which combines with our home office! It's wonderful to have desk space for projects that are in progress, and not to have to put everything away each time I want to scrap. This fits much better with my working full time, as I can walk by and pick just a small thing to do, and "drip feed" scrap which is sometimes all I have time for.
I was initially thinking of painting this wall, but then I had this quicker, easier idea which I can change if I want. This is my solution for using pretty papers (an absolute weakness of mine) which I might not want to cut up, but which nonetheless I want to have on display! Like the wall art in my last post, I can change the papers to something else whenever I want. I used mini wooden pegs to clip them to the baker's twine which I hung up there. I might also use this to display projects, although I'm making less 12x12 layouts these days, except for Project Life, and preferring smaller projects and mini books. Plenty of options for my wall of pretties. :)
~ Caroline ~
I was initially thinking of painting this wall, but then I had this quicker, easier idea which I can change if I want. This is my solution for using pretty papers (an absolute weakness of mine) which I might not want to cut up, but which nonetheless I want to have on display! Like the wall art in my last post, I can change the papers to something else whenever I want. I used mini wooden pegs to clip them to the baker's twine which I hung up there. I might also use this to display projects, although I'm making less 12x12 layouts these days, except for Project Life, and preferring smaller projects and mini books. Plenty of options for my wall of pretties. :)
~ Caroline ~
Wednesday, May 30, 2012
Using repetition with the Slice to make art
I've had this framed corkboard for a while but haven't ever put it to good use. My husband recently hung it on the wall of the kitchen in our new house, and I was inspired to make the most of its new location. The shaped pins came with the corkboard.
I cut 11 jugs from the Faith design card at 2.5" using a variety of patterned papers. It was a lot of fun meandering through my stash and finding papers that worked together! Then I hung the handle of each one on a small pin, with the larger pins mixed in with them. It'll be easy to change out the design when I want something different up there - I'm planning on changing this with the seasons, using it for birthdays etc.
~ Caroline ~
I cut 11 jugs from the Faith design card at 2.5" using a variety of patterned papers. It was a lot of fun meandering through my stash and finding papers that worked together! Then I hung the handle of each one on a small pin, with the larger pins mixed in with them. It'll be easy to change out the design when I want something different up there - I'm planning on changing this with the seasons, using it for birthdays etc.
~ Caroline ~
Subscribe to:
Posts (Atom)